25 Oct 2015
I got asked a little while ago if SCOM could query an SQL database and generate an alert in certain circumstances. I was sure it could, since I’ve seen things do it before, but it wasn’t something i’d done myself. It seems like a fairly basic thing to do, but all the documentation I found was a bit scattered across the web, so I’m noting it down here, with links to the sources I used!
Somehow I’ve managed to get a long way without doing any real SCOM Management Pack authoring… Until now! This made my day a nice learning curve,
Here’s the summary of how I went about it.
- Create a new Management Pack (MP) to contain the changes.
- Create the run as profile in the MP.
- Create the monitor in the MP.
- Export the management pack.
- Add the run as reference to the monitor.
- Re-import the management pack.
- Complete the configuration, set up alerting and overrides, etc.
To make things easier we create the framework of the monitor and the run as profile first, to make the manual editing step easier.
Sources
Massive thanks to the following people and everyone posting about SCOM stuff, a lot of this stuff would be incredibly difficult without their help.
Create a new Management Pack (MP) to contain the changes
I started by creating a management pack for whatever monitors I create using this method, since it will need editing. This should help to keep things tidy, allowing me to isolate the changes I’m making from the rest of the system, as is good practice.
Browse to Administration, then right-click on “Management Packs” and choose to create a new management pack.
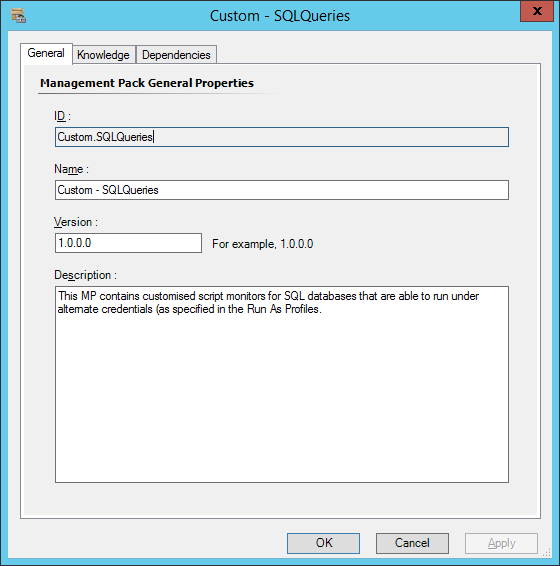
I’ve named and described my management pack, obviously these will be different in your case.
Create the run as profile in the MP
Browse to the Administration tab, then right-click “Run As Configuration” and choose to “Create Run As Profile…”
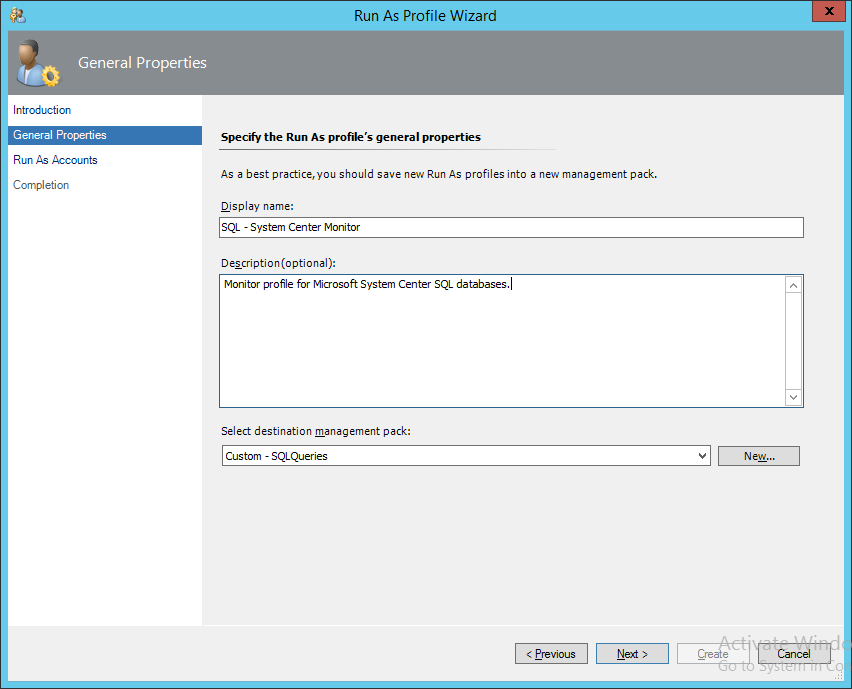
Name and describe the profile how you need it, then choose to put it in the management pack we created. Add the run account you need, then create it.
Create the monitor in the MP
To create the monitor, I browsed to the Authoring tab, then to “Management Pack Objects > Monitors” and filtered the scope to the following “SQL Server YYYY DB”, depending on the SQL Server version containing the database you need to target. I’ll be working with SQL Server 2014 for this example, but this method applies to all recent versions of SQL server.
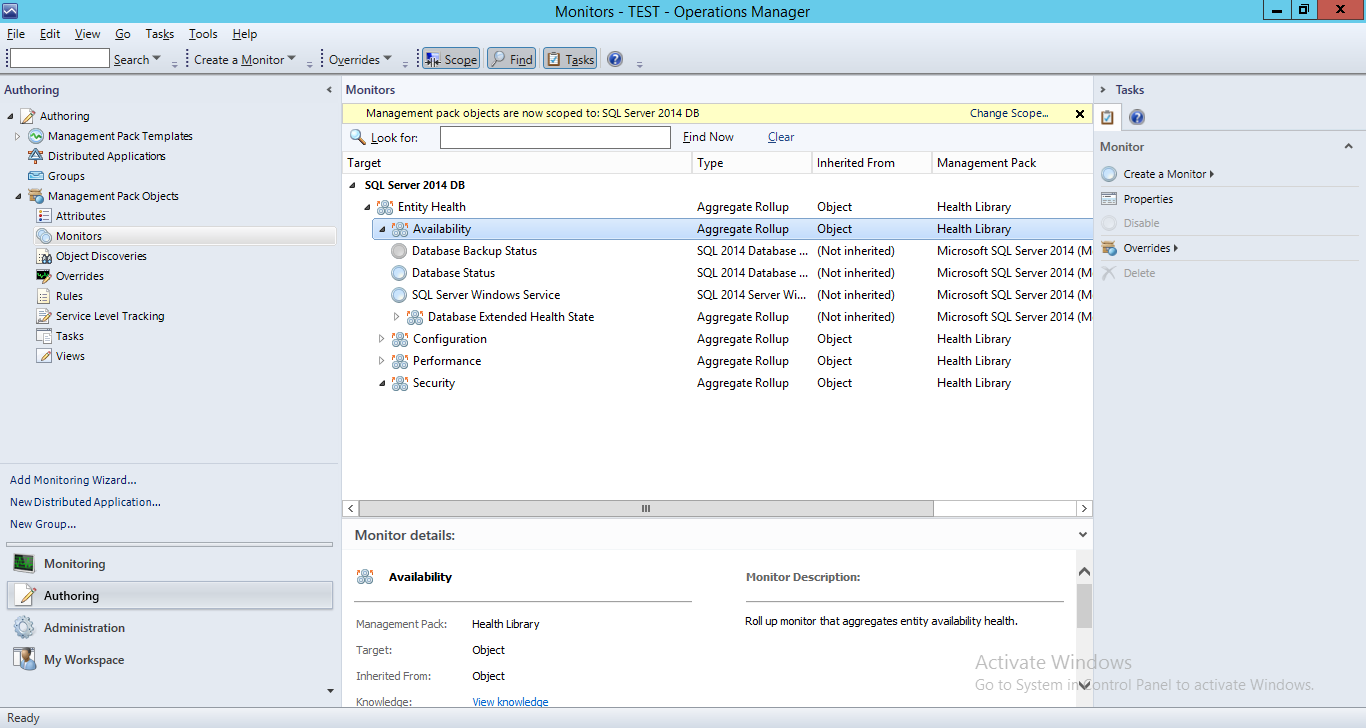
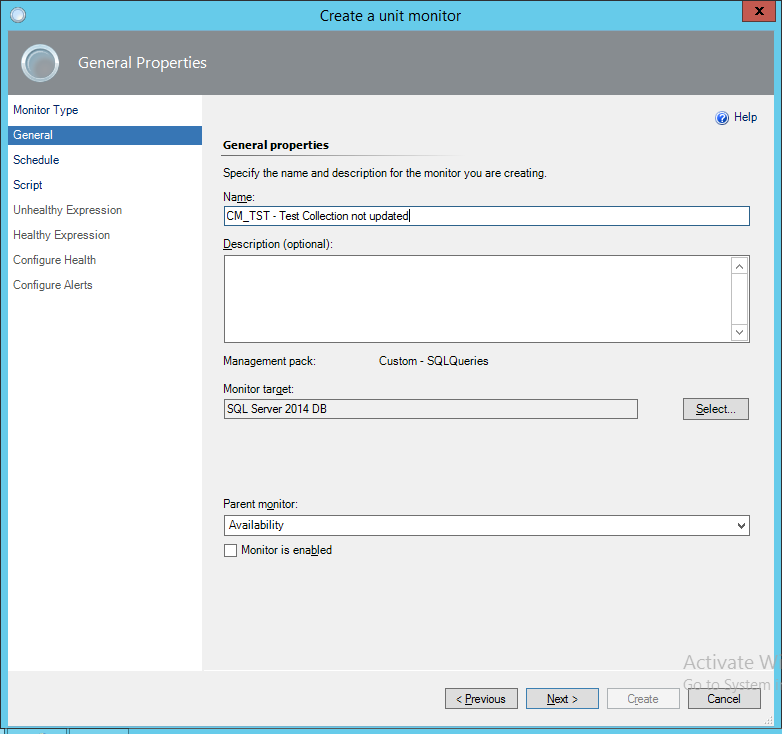
Next we can go ahead and create a new Unit Monitor to hold our script we need to run against the DB. In this example I’ll be using a timed script two state monitor.
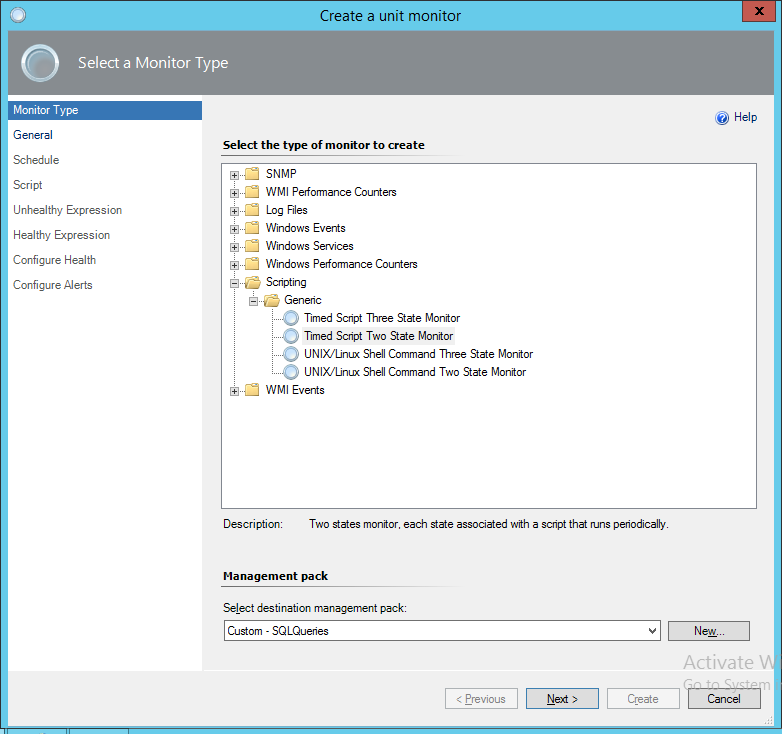
The script monitor should be created in the new management pack we’ve just created, given a reasonable name and not enabled, since we will create overrides later for the databases this monitor will apply to.
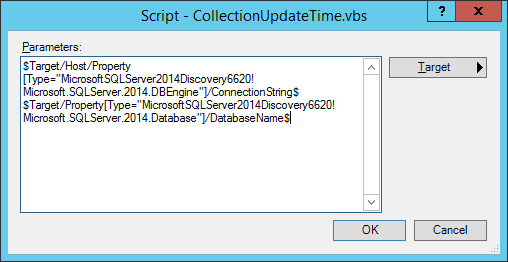
For testing, I’ll be setting the schedule of the script to 5 minutes (not shown) and I’ll be using the following script as a test monitor, it’s just a simple script to grab the last updated time of a collection and pass that back to the property bag for the alert if it’s over 20 minutes old. Here’s the script and just as importantly the parameters screen to show how the script has been set up.
Here’s the script itself:
Two State Monitor
Take note that the SQL query in the script is made up for this example, but the rest script can be used for many other things. I’ve used parameters for the database server and database name in the script, so the solution just relies on the script and return values being specified correctly in the lower half of the script.
Now we have the script and the parameters sorted out, we can turn our attention to the health expressions. In this example they are set up simply. If we get some records back, there’s a problem. It’s a simple way to go, and this way round we can hopefully extract some useful reason for why things are unhealthy.
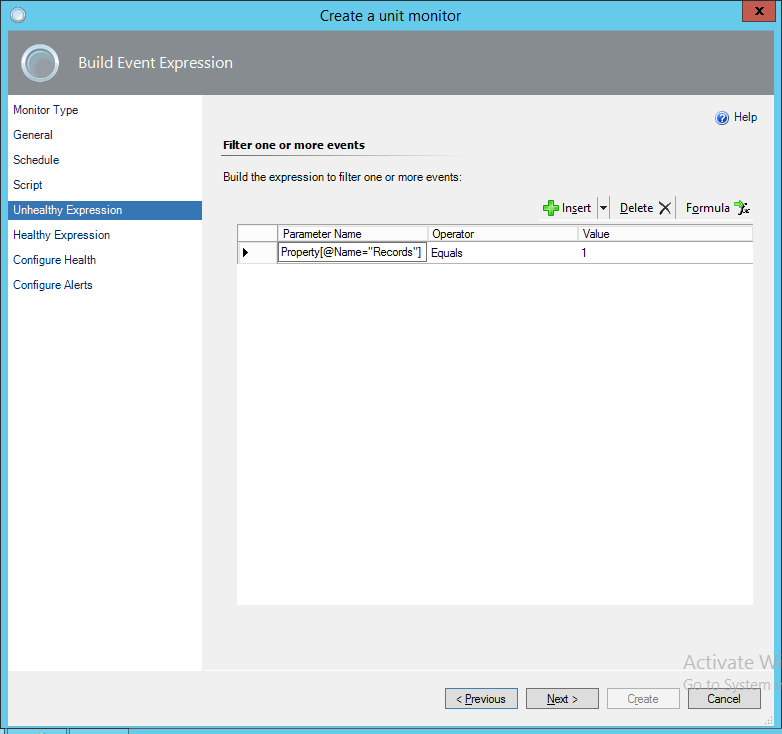
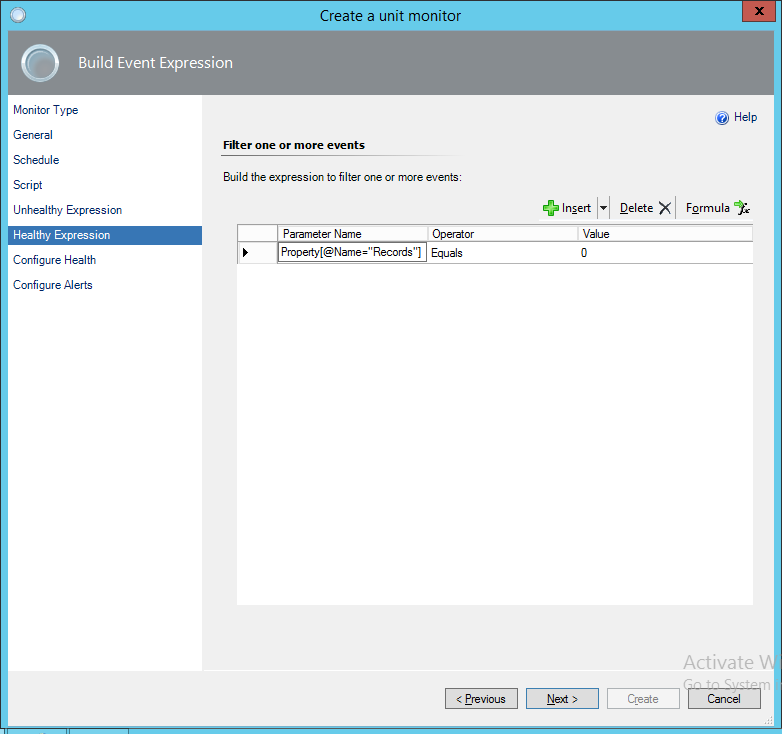
We can grab the data from the property bag returned by the script and use the details in the health expression by grabbing the property by name as shown. Since this is a test monitor and isn’t really critical, I’m going to leave the “Configure Health” step as default, and not configure an alert yet, then create the monitor.
Export the management pack
To export the management pack, browse back to the management pack we created at the beginning, right click it and choose to export it. This will give you an XML file we can go ahead and edit.
Add the run as reference to the monitor
I’ve attached the original and the run as versions of the management pack here, showing almost no difference between the two files! All I’ve done is bump up the version number and add the “SecureReference” ID from the secure references section to the chosen UnitMonitor. It’s a little easier this way than adding the secure reference from scratch and makes the whole process a bit quicker.
Here’s the diff between the two files on GitHub.
Re-import the management pack
To re-import the management pack, import the MP back from disk. Make sure you don’t change the filename, as this will cause issues with importing, as will any XML validation errors that may have been introduced.
Complete the configuration
Now we’ve got over all that, we can now apply an override and try out the monitor!
Navigate back to the Authoring tab and find the monitor you created earlier. Right click it, choose “Overrides > Override the monitor > For a specific object of class: SQL Server YYYY DB”. Choose the database you want this monitor to apply to, then click OK.
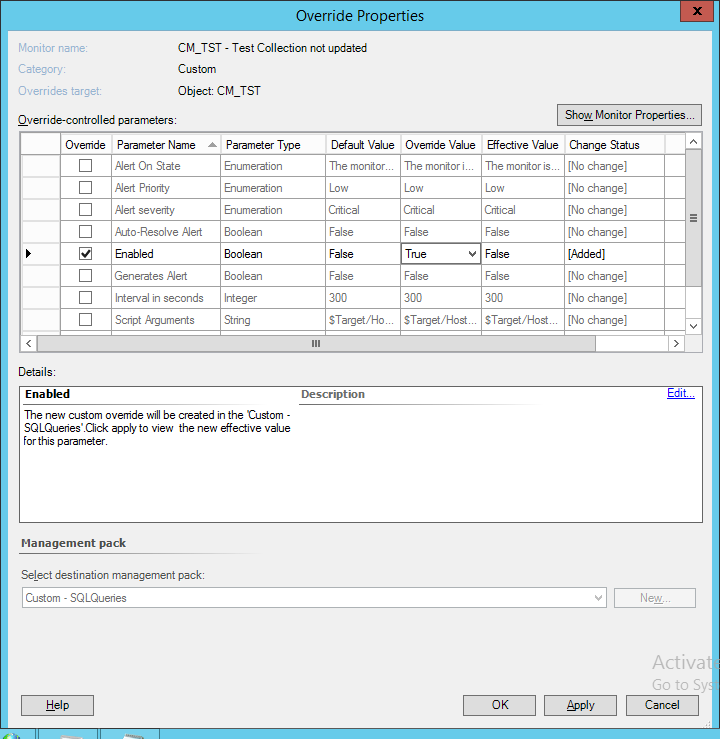
Choose to override the “Enabled” parameter, then click OK.
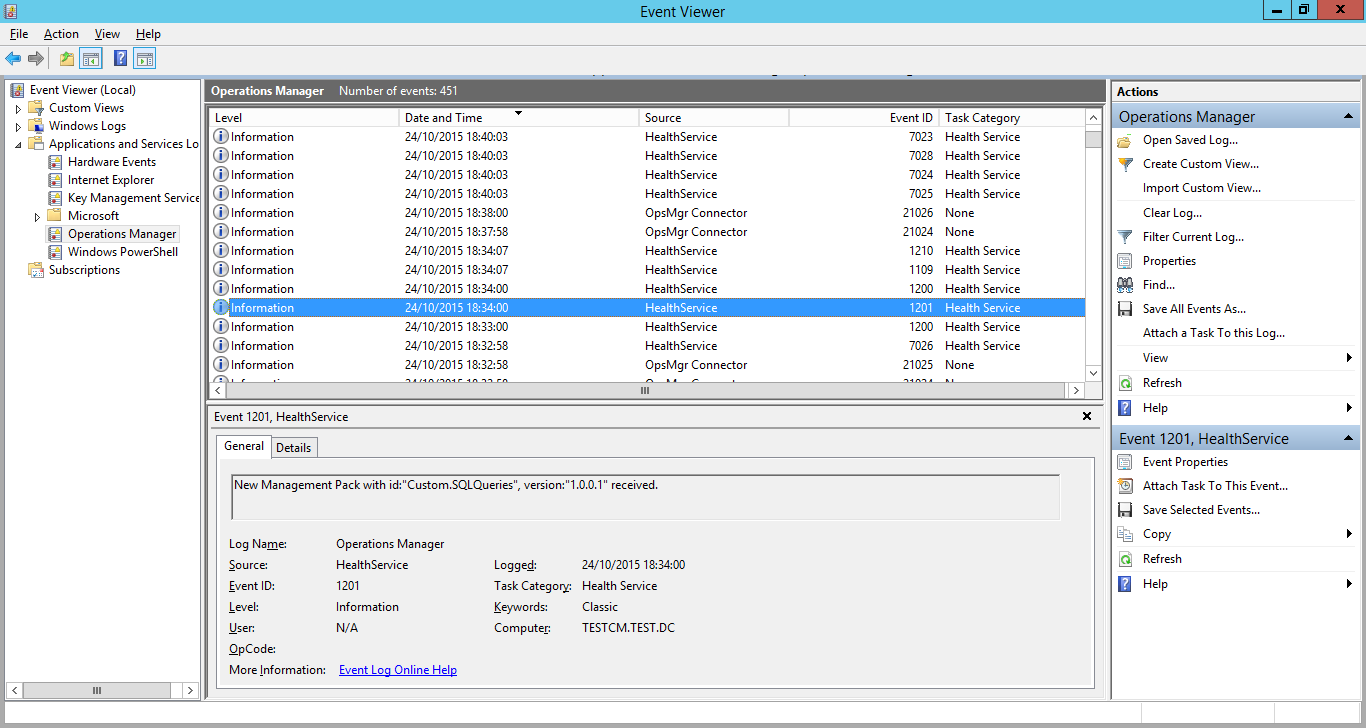
You’ll be able to see the management pack importing on the destination server, if you look at the event viewer for the destination server.
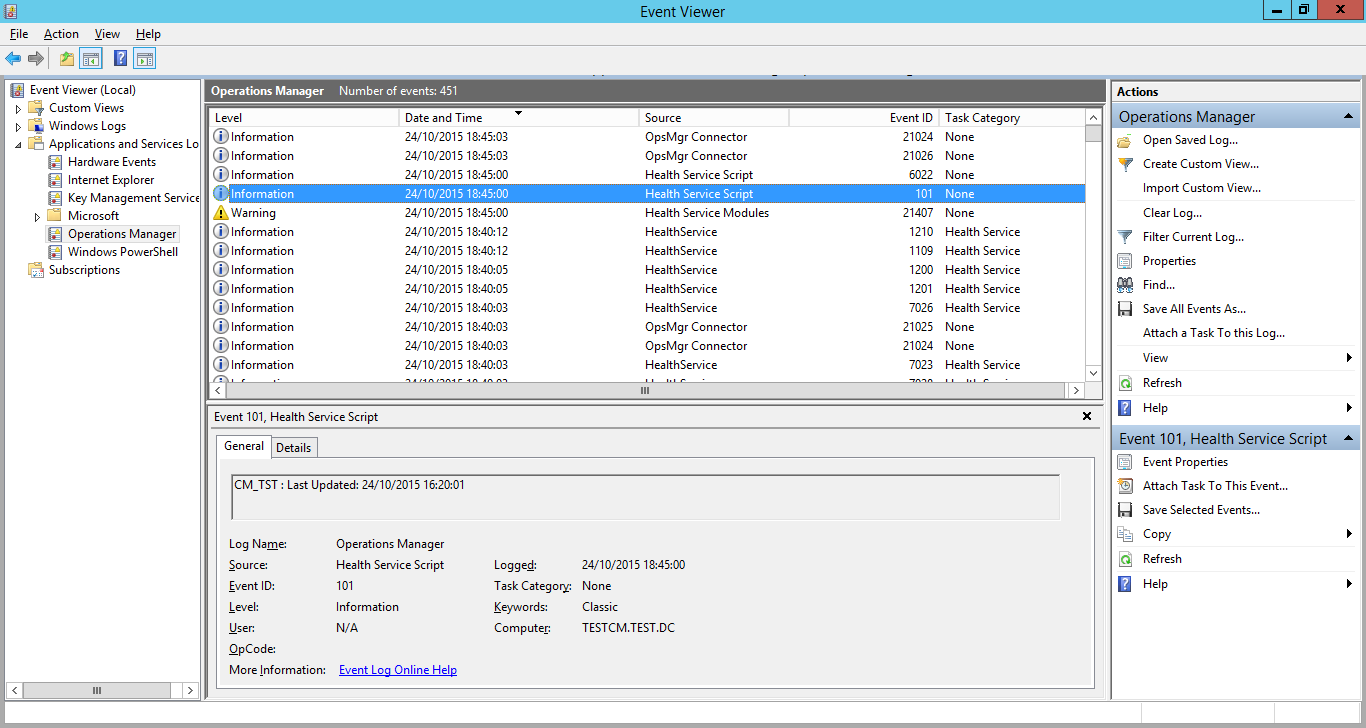
Eventually, you should see the script run. It will log an event under the source “Health Service Script” and should hopefully post the data you need! In this example is a shot of the script failing and posting the error text specified in the script to the event log.
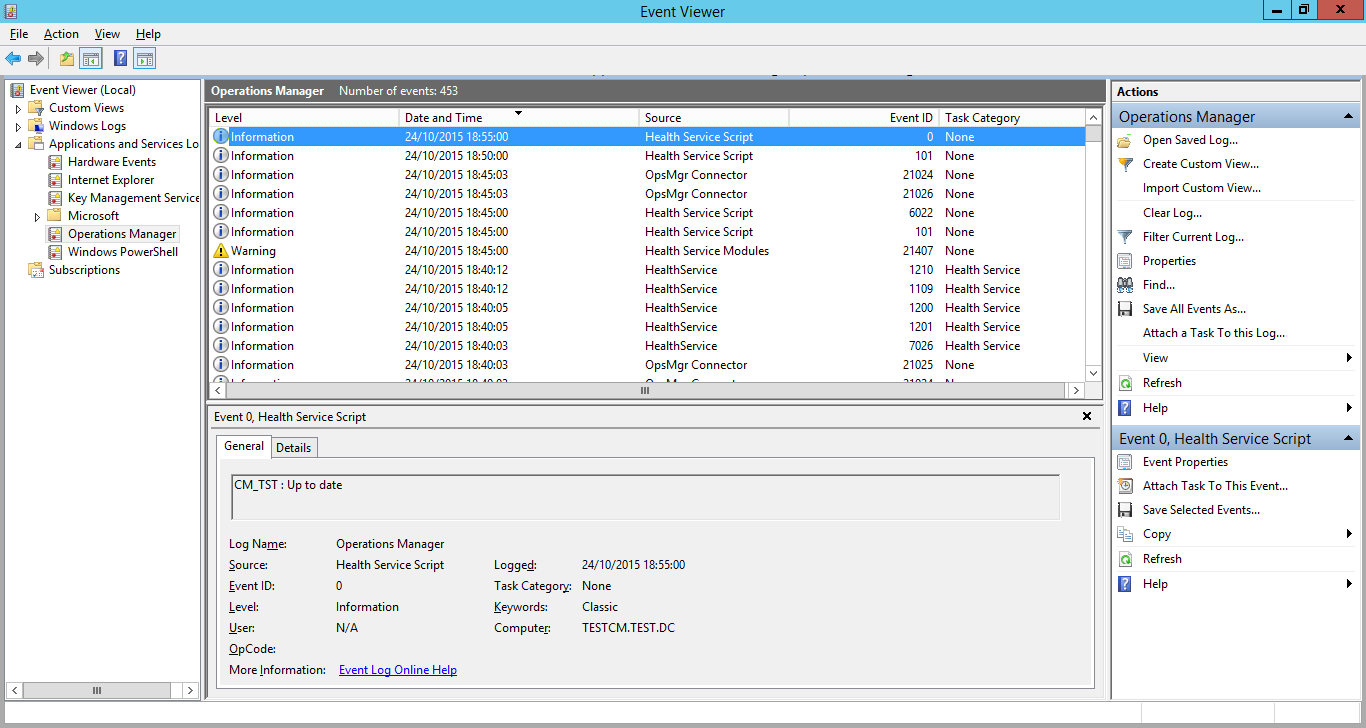
I remove the error state by updating the collection. A while later, the script runs again and sees that the error is resolved.
Now we’ve confirmed it’s all working, we can set up the alert. Navigate back to the “Authoring” tab in SCOM and get to the “Alerting” tab in the properties of our monitor.
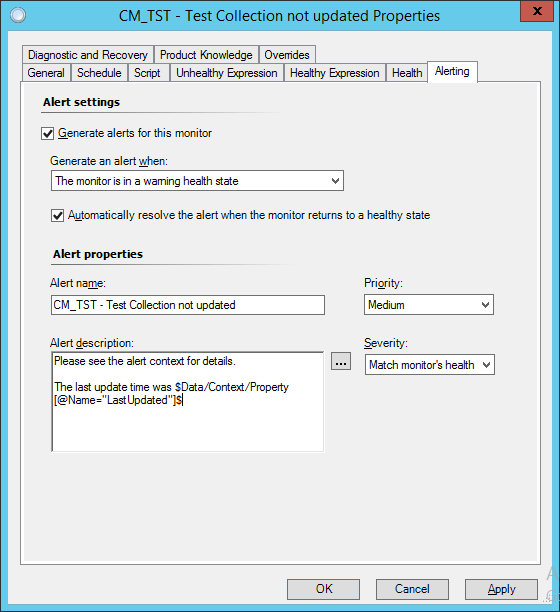
This is an example of a basic alert, including the collection last update time in the alert description by adding the property returned by the script.
I’ll cover troubleshooting these kinds of scripts in another post soon, there’s a few things to look at to make sure you’ve covered all the bases. The most important thing is returning the right variable types in the property bag.
26 Sep 2015
I’ve been working on a few different things recently and I’ve got into a few nice things in PowerShell that I haven’t been using before. The magic of Pester is one of them! I needed to write a couple of functions to get and set the timezone on a computer. It’s not hugely complicated, but it does the job. I wrote up some tests first to get an idea on the objects I would return and how the user would interact with the cmdlets.
Also, instead of using a large ValidateSet array that would require maintaining for the Set-Timezone function, the function uses a ValidateScript that gets the valid inputs for tzutil dynamically, which is nice!
I’m still trying to figure out how to handle the _dstoff option properly, I’ll keep on it and update the module once I get it sorted.
The Timezone module can be found on my GitHub.
19 Sep 2015
As is always the case, things to write about come along all at once. Here’s another little administrative thing I had to read up on and piece together, so I’m posting it as a note to forgetful future me!
I had to find out how to delegate a set of Exchange permissions to create and manage mail users, without allowing the same users to remove things. This sounded like a problem uniquely suited to the powers of the Exchange Management Shell.
To manage Exchange permissions like this, you must be a member of the built-in role group ’Organization Management’, which will grant you the permission to see and run these cmdlets.
I started by creating an Exchange role group, which is an Active Directory (AD) security group that will provide the new delegated rights set. Role groups can be created using the cmdlet New-RoleGroup. To see an example of an existing role group, the Get-RoleGroup command will get you started (Output edited for clarity):
Get-RoleGroup | Select-Object -First 1 | Format-List

ManagedBy       : {contoso.test/Microsoft Exchange Security Groups/Organization Management}
RoleAssignments : {Active Directory Permissions-Organization Management-Delegating...}
Roles           : {Active Directory Permissions, Cmdlet Extension Agents...}
Members         : {contoso.test/contoso/Admins/Users/TestAdmin, contoso.test/Users/Administrator}
SamAccountName  : Organization Management
Description     : Members of this management role group have permissions to manage Exchange objects and their properties in the Exchange organization. Members can also delegate role groups and management roles in the organization. This role group shouldn't be deleted.
RoleGroupType   : Standard
Name            : Organization Management
You can create the new role group with a command like this:
New-RoleGroup -Name "Helpdesk Mail User Management" -samAccountName "Helpdesk Mail User Management" -Description "Members of this role group have the ability to create and manage Exchange user objects."
When you look at the group again using Get-RoleGroup, you’ll notice that there are two attributes that are empty compared to the existing groups, ‘Roles’ and ‘RoleAssignments’. These are the attributes that will contain the references to the rights we need our group to have.
Now we have a role group (with no permissions!), we next need to find out and set up the permissions sets, or management roles, we need. Some of this is found out using documentation (under Management role types), but a lot of it is working out what PowerShell command (or commands) an action boils down to and using that to scope your management role.
You can discover this by first finding out what roles contain a specific cmdlet the user will need to do their job:
Get-ManagementRole | Get-ManagementRoleEntry | Where-Object {$_.Name -eq "New-Mailbox"}
The next step is finding out how good a fit that role would be as a base to the custom role by seeing all the cmdlets that role contains. It appears that picking a role with more than you need, then reducing it down is the way to go, as you cannot add entries that don’t exist in the parent role:
Get-ManagementRole "Mail Recipient Creation" | Get-ManagementRoleEntry
Once you’ve planned the cmdlets you’ll need and the roles you can copy and tweak to your satisfaction, you can copy an existing management role:
Get-ManagementRole "Mail Recipient Creation" | New-ManagementRole "Mail Recipient Creation-NoDelete"
To tweak you new management role, you can use the cmdlets we’ve already explored, then filter it with Where-Object:
Get-ManagementRole "Mail Recipient Creation-NoDelete" | Get-ManagementRoleEntry | Where-Object {$_.Name -like "Remove-*"}
Once we’ve discovered the exact cmdlets we need to remove from our new management role, we can use Remove-ManagementRoleEntry as part of the pipeline to get the job done.
Get-ManagementRole "Mail Recipient Creation-NoDelete" | Get-ManagementRoleEntry | Where-Object {$_.Name -like "Remove-*"} | Remove-ManagementRoleEntry
Remember not to be too crazy with wildcards, as you don’t want to remove the cmdlets you need!
Now we have all our management roles sorted out, we can add our new management roles to the security group, so they’ll take effect.
New-ManagementRoleAssignment -SecurityGroup "Helpdesk Mail User Management" -Role "Mail Recipient Creation-NoDelete"
And that’s it! You can add multiple roles to the same group to provide the right permissions set and the process isn’t too difficult once you get your head around how it’s all supposed to work. I haven’t covered scoping here, but there’s a lot of information on TechNet to get you started on setting scopes on role assignments.